
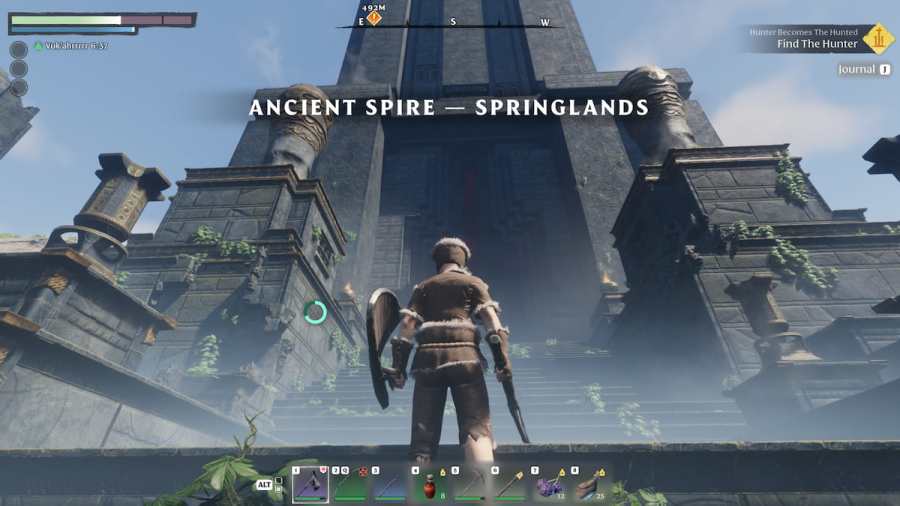
Introduction to Ancient Spire - Low Meadows
The Ancient Spire in Low Meadows is one of the early fast travel points you should unlock in Enshrouded. These spires make exploration significantly easier by providing high platform viewpoints and fast travel functionality across the map.
This guide provides a complete walkthrough for all four floors of the Low Meadows Ancient Spire, including puzzle solutions, trap navigation, chest locations, and tips to reach the top safely.
Why Unlock Ancient Spires?
Benefits of Ancient Spires:
- Fast Travel Points - Quick transportation across the map
- High Vantage Points - Better view of surrounding areas
- Map Exploration - Reveal more of the world map
- Quest Progression - Required for main story progression
- Loot Opportunities - Chests and resources in each spire
Low Meadows Priority:
- Early-game accessible
- Relatively easier than later spires
- Strategic location for exploration
- Good practice for future spires
What You’ll Need
Recommended Level
- Minimum: Level 5-8
- Comfortable: Level 10+
Essential Equipment
Required:
- Grappling Hook (mandatory for 4th floor puzzle)
- Weapon of choice
- Armor (any quality)
Highly Recommended:
- Health Potions (8-10)
- Stamina Food buff
- Bandages or healing items
- Torch for visibility
Skills to Consider
Useful Skills:
- Increased Stamina
- Dodge Roll upgrades
- Health bonuses
- Damage output improvements
Floor-by-Floor Walkthrough
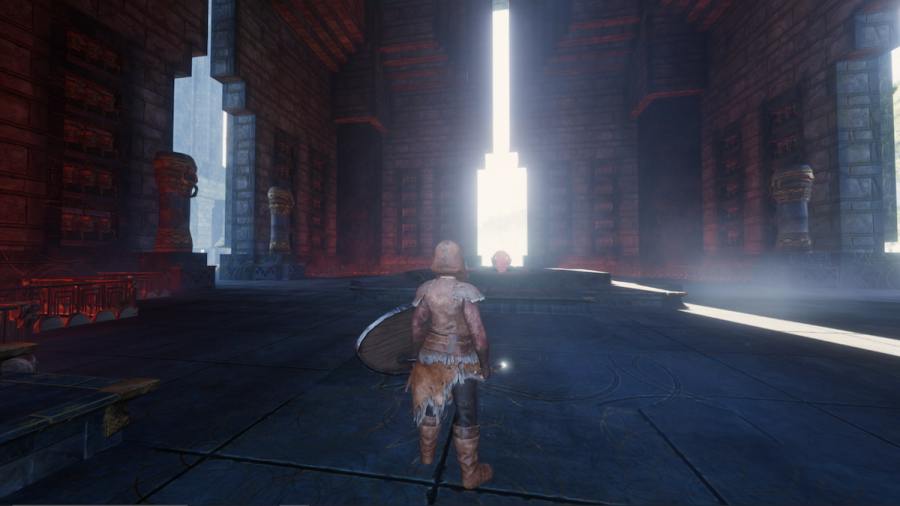
First Floor - Ground Level
Difficulty: Easy - No enemies, no traps

Main Room
The first floor is straightforward with no immediate dangers:
- Enter the Spire - Main entrance on ground level
- Central Portal - Visible in the center (don’t take yet)
- Explore the perimeter first
Northeast Corner Loot (Don’t Miss!)
Before taking the central portal:
- Exit the spire and go around to the northeast corner
- Look for climbable surfaces on the outside
- Find the hidden alcove with valuable loot
Loot Found:
- Mana Potion (useful for magic users)
- 2x Animal Fur (crafting material)
- Lore Page (provides XP when read)
Pro Tip: Always read Lore Pages immediately for free experience points!
Proceed to Second Floor
Once you’ve collected the northeast corner loot:
- Return to the main room
- Take the central portal to ascend
Second Floor - Button Puzzle & Spike Traps
Difficulty: Medium - Spike traps, locked doors

Initial Room - Two-Button Door Puzzle
The portal deposits you in front of a locked door requiring two buttons to open.
Button Locations:
Button 1:
- Location: Right in front of the locked door
- Position: Above a safe section of floor
- Easy to spot
Button 2:
- Location: Same room, on the balcony to the left
- Look for: Elevated platform area
- Safe to access
Solution:
- Press Button 1 (front of door)
- Go left to balcony
- Press Button 2
- Door opens
Spike Trap Corridor
After pressing both buttons:
Navigate the Corridor:
- Long hallway filled with spike traps
- Spikes activate in patterns
- Time your movements between spikes
- Dodge roll to cross quickly if needed
Strategy:
- Observe spike pattern before rushing
- Use dodge roll for safety
- Don’t panic - pattern is predictable
Silver Chest Room
At the end of the spike corridor:
Chest Location:
- Silver chest behind arcane trap
- Lightning emitters guard the chest
- Deals ~150 HP damage per hit (armor-dependent)
How to Get the Chest:
Method 1: Dodge Roll
- Time your dodge roll between lightning bursts
- Quick and effective
Method 2: Wait Strategy
- Observe the lightning pattern
- Two bursts with a gap
- Walk in during the gap
- Grab chest and retreat
Important: Don’t tank the damage - it’s significant!
Exit to Third Floor
- Return to the initial room
- The two-button door is now open
- Take the portal to the third floor
Third Floor - Multiple Rooms & Trap Gauntlet
Difficulty: Medium-Hard - Complex layout, multiple traps

Entry Room - Single Button Door
Initial Setup:
- Portal places you at a locked door
- Requires one button to open
- Spike trap corridor ahead (currently off)
The Trap Activation:
- Walk down the corridor with inactive spikes
- Press the button at the end
- Door opens BUT traps activate!
- Return carefully through now-active spikes
Two-Door Room
After passing through:
Room Layout:
- Two locked doors (each needs a button)
- Door 1: Leads to portal (next floor)
- Door 2: Leads to gold chest
Navigation Route:
- Continue on the only available path
- Reach long corridor with spike traps
Double Spike Trap Corridor
Trap Setup:
- Two long spike trap sections
- Significant damage if hit
- Common chest on balcony nearby
How to Cross:
Best Strategy:
- Run at full speed
- Dodge roll when spikes activate
- Maintain momentum
- Don’t stop in middle
Alternate Strategy:
- Time movements between activations
- Slower but safer
- Good for low-health situations
Balcony Chest:
- Common chest next to traps
- Optional but easy to grab
- Minor loot
Portal Room & Button
After surviving spike corridor:
You’ll arrive at:
- Room with portal to 4th floor
- Button in the portal room
- This button opens Door 2 (gold chest room)
Decision Point:
Option A: Continue to 4th Floor
- Take portal immediately
- Skip gold chest
- Faster progression
Option B: Get Gold Chest (Recommended)
- Press button in portal room
- Return through spike corridor
- Enter newly opened Door 2
- Loot gold chest
- Press button in chest room (opens return path)
- Return to portal WITHOUT going through spikes again
Important: The button in the chest room opens a direct path back to the portal, avoiding the spike gauntlet!
Best Route Summary
- Cross spike corridor to portal room
- Press button to open gold chest room
- Return and get gold chest
- Use chest room’s button for safe return
- Take portal to 4th floor
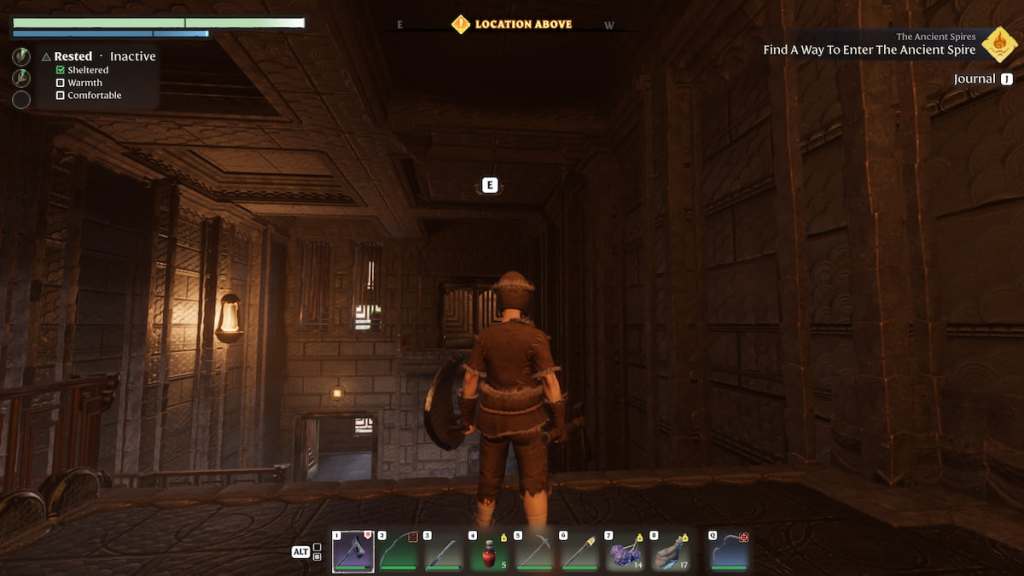
Fourth Floor - Lava, Climbing & Final Puzzles
Difficulty: Hard - Complex puzzles, requires Grappling Hook

Spike Floor Room
Initial Room:
- Entire floor covered in spikes
- Door directly ahead (locked - ignore it)
- Alternate path through spike pattern
Navigation:
- DON’T try the front door (locked + damage)
- Follow the safe pattern in the spikes
- Spikes alternate in predictable pattern
- Head to the far end of the room
Using Balconies:
- Small balconies available as safe zones
- Use them as rest points
- Break all pots - some contain health potions!
Pro Tip: Take your time observing the spike pattern before crossing.
Lava Room
Obstacle:
- Floor of lava
- Short distance to cross
How to Cross:
- Running jump is sufficient
- No special abilities needed
- Land on safe platform
Wall Climbing Section
After lava room:
- Metallic mesh on the wall
- Must climb upward
- Requires adequate stamina
Stamina Management:
- Ensure you have stamina food buff
- Don’t start climb at low stamina
- Fall = spike damage (likely fatal)
Arcane Emitter Hallway
Hazard:
- Arcane emitters on walls
- Lightning projectiles
- Damage similar to 2nd floor
Navigation:
- Time movements between bursts
- Dodge roll if necessary
- Floor button at the end
Critical Two-Player Puzzle

The Puzzle:
- Floor button that holds door open
- Door closes immediately when you step off
- Too far to dash/Blink through alone
Intended Solution: Two Players
- Player 1: Stands on button
- Player 2: Runs through door
- Player 2: Loots chest
- Switch roles or share loot
Solo Players:
- Cannot be solved alone (confirmed)
- Attempted methods that DON’T work:
- Campfire on button ❌
- Shooting arrows at button ❌
- Throwing explosives ❌
- Any other item placement ❌
Verdict: This chest requires multiplayer. Skip if solo.
Grappling Hook Puzzle (Mandatory)
This puzzle is REQUIRED to complete the spire.
Requirements:
- Grappling Hook (must have crafted)
- Full stamina (critical!)
The Puzzle:
- Look up at the ceiling
- Find the grappling ring hanging from ceiling
- Use Grappling Hook to attach
- Swing toward the climbable mesh on the wall
- Grab the mesh before falling
Critical Warning: If you have low stamina:
- You’ll run out while climbing
- You’ll fall onto spike traps below
- Fall damage + spike damage = likely death
- Wait for full stamina before attempting!
Final Climbing Section
After grappling to mesh:
Option 1: Right Path (Optional Chests)
- Climb right on the mesh
- Gold chest location
- Common chest nearby
- Loot both
Option 2: Upward Path (To Roof)
- Climb mesh upward
- Find button to deactivate spike traps
- Button also opens door to final portal
Recommended Route:
- Grapple to mesh
- Go right for chests
- Climb back to mesh
- Go up
- Press button
- Take portal to roof
Roof - Fast Travel Activation
Final Step:
- Portal brings you to the roof
- Commune with the Flame at the top
- Ancient Spire unlocked!
- Fast Travel Point activated
Congratulations! You’ve completed the Low Meadows Ancient Spire!
Complete Chest Locations Summary
Floor 1
- Outside northeast corner: Mana Potion, 2x Animal Fur, Lore Page
Floor 2
- Silver chest: Behind lightning emitters (end of spike corridor)
Floor 3
- Common chest: Balcony near spike traps
- Gold chest: Behind Door 2 (button puzzle)
Floor 4
- Gold chest: Right side of climbing mesh (grappling section)
- Common chest: Near gold chest
- Two-player chest: Behind button puzzle door (multiplayer only)
Total Accessible Chests (Solo): 5 chests + items Total Chests (Multiplayer): 6 chests + items
Tips & Strategies
General Tips
Preparation:
- Bring 8-10 health potions minimum
- Eat stamina food before climbing sections
- Craft Grappling Hook BEFORE entering
- Mark the spire on your map
Combat:
- No enemies in this spire
- All damage is from environmental hazards
- Focus on trap timing, not fighting
Exploration:
- Always check for hidden alcoves
- Break all pots for potential potions
- Read Lore Pages for free XP
Trap Navigation
Spike Traps:
- Observe pattern before moving
- Dodge roll for safety
- Use balconies as safe zones
- Never rush without watching
Arcane Emitters:
- Wait for gap between bursts
- Dodge roll as backup
- ~150 HP damage per hit - avoid if possible
Lava:
- Simple running jump
- Don’t overthink it
Puzzle Solutions
Button Puzzles:
- Explore entire room for all buttons
- Press in any order (unless specified)
- Check if buttons open multiple doors
Two-Player Puzzle:
- Don’t waste time trying to solo
- Return with a friend later
- Not mandatory for completion
Grappling Hook:
- REQUIRED for completion
- Have full stamina
- Practice grappling if new
Climbing Sections
Stamina Management:
- Critical for survival
- Eat stamina food beforehand
- Don’t start climbs at low stamina
- Fall = death on spike traps
Safe Climbing:
- Take breaks on safe platforms
- Watch stamina bar constantly
- Know where safe zones are
Common Mistakes to Avoid
Fatal Errors
-
Attempting grappling puzzle with low stamina
- Result: Fall death on spikes
- Solution: Wait for full stamina
-
Ignoring the northeast corner loot (Floor 1)
- Result: Miss free Mana Potion and XP
- Solution: Always check exterior before ascending
-
Tanking arcane emitter damage
- Result: Wasted health potions
- Solution: Time movements or dodge roll
-
Trying the two-player puzzle alone
- Result: Wasted time
- Solution: Skip it or return with friend
-
Not bringing Grappling Hook
- Result: Cannot complete spire
- Solution: Leave and craft it first
Inefficient Choices
-
Skipping the gold chest on Floor 3
- Use the button in chest room for safe return
-
Not breaking pots
- Free health potions inside
-
Rushing through spike traps
- Slow is smooth, smooth is fast
Rewards & Benefits
Immediate Rewards
Fast Travel Point:
- Instant teleportation to Low Meadows
- High vantage point for scouting
- Map reveal for surrounding area
Loot Obtained:
- Multiple chests (silver, gold, common)
- Mana Potion
- Animal Fur
- Various materials
Experience:
- Lore Page XP
- Quest completion XP
- Exploration XP
Long-Term Benefits
Map Progression:
- Unlocks fast travel network
- Easier access to Low Meadows biome
- Strategic position for future exploration
Skill Practice:
- Trap navigation experience
- Puzzle-solving skills
- Platforming practice for later spires
Quest Advancement:
- Main story progression
- Other quests require Ancient Spires
- Foundation for exploring more dangerous areas
After Completion
Next Steps
Other Ancient Spires:
- This was probably your first spire
- More spires exist in other biomes
- Each has unique challenges
- Use this experience for future spires
Exploration:
- Use fast travel to explore Low Meadows
- Return to base instantly
- Gather resources efficiently
Gear Upgrades:
- Repair and upgrade weapons
- Prepare for harder content
- Build better armor
Returning for Missed Items
If You Missed Something:
- Fast travel back to the spire
- Descend from the top
- Collect missed loot
- Puzzles remain solved
Two-Player Chest:
- Return with a friend
- Coordinate button press
- Share the loot
Frequently Asked Questions
Can I complete this spire solo?
Yes! The spire is fully soloable except for one optional chest on Floor 4 (the two-player button puzzle). You can complete and unlock the fast travel point entirely solo.
Do I need the Grappling Hook?
Yes, it’s MANDATORY. The grappling puzzle on Floor 4 cannot be completed without it. Craft it before attempting the spire.
What level should I be?
Minimum Level 5-8, but Level 10+ is comfortable. The spire has no enemies, only traps, so it’s more about skill than level.
Can I leave and come back?
Yes! You can leave at any time and return later. Your progress is not saved, but you can re-climb quickly since you know the solutions.
Will enemies respawn?
There are NO enemies in the Low Meadows Ancient Spire. All challenges are environmental puzzles and traps.
What happens if I die?
You respawn at your last fast travel point or flame altar. You’ll need to re-enter the spire and climb again. Bring extra healing items to avoid this!
Conclusion
The Ancient Spire in Low Meadows is an essential early-game objective that provides a valuable fast travel point and good practice for future spires. While it contains traps and puzzles, there are no enemies, making it accessible for newer players.
Key Takeaways:
- Bring Grappling Hook (mandatory)
- Check northeast corner on Floor 1 (free loot)
- Full stamina for climbing sections
- Time your movements through traps
- Two-player puzzle is optional
- Unlock fast travel at the top
With this guide, you should be able to complete the Low Meadows Ancient Spire efficiently and safely. Good luck, and enjoy your new fast travel point!
Related Guides
- The Ancient Spire Quest Guide
- How to Craft and Use Grappling Hook
- How to Repair and Upgrade Weapons
- How to Survive in the Shroud
Related Guides
The Ancient Spire Quest Guide - Complete Walkthrough
Complete walkthrough for The Ancient Spire quest in Enshrouded, including all floors, puzzles, hidden chests, and fast travel point activation.
How to Craft and Use Grappling Hook in Enshrouded
Complete guide to crafting and using the Grappling Hook in Enshrouded, including material locations, recipe requirements, and usage tips for exploration.
How to Repair and Upgrade Weapons in Enshrouded
Complete guide to repairing and upgrading weapons in Enshrouded, including free repair methods, Blacksmith upgrades, and Rune farming strategies.